
AVIF to JPG: Free Online Conversion Guide (2026)

Alisha Anjum

You export a photo as AVIF, send it off, and the person on the other end sees a broken image icon instead of your picture. This mismatch between AVIF and JPG trips up web developers, designers, and content creators more often than most people expect. The core issue comes down to compatibility. AVIF compresses beautifully, but not every device, email client, or older browser knows how to open it.
That gap between AVIF’s efficiency and JPG’s universal reach is exactly why converting between the two matters so much. AVIF to JPG conversion turns a modern, high-compression image into the one format that opens everywhere, from a decade-old office printer to a client’s outdated laptop. This guide walks through what separates AVIF from JPG, when you actually need to convert, and how to do it free in your browser using Tools Repository’s AVIF to JPG converter, with no software installs or sign-ups involved.
Stick around, and you’ll know exactly which format fits your project and how to switch between them in seconds.
Key takeaways
- AVIF gives you smaller files and richer image quality, but JPG guarantees universal compatibility across every device made in the last three decades.
- Converting AVIF to JPG solves real compatibility issues with older browsers, email clients, and print workflows that can’t read the newer format.
- Free browser-based converters handle AVIF to JPG conversion in seconds, without uploading your files to any outside server.
- A JPG quality setting between 80% and 90% keeps visual detail sharp while still trimming file size after conversion.
Table of Contents
- What’s the difference between AVIF and JPG?
- Why would I need to convert AVIF to JPG?
- How can I convert AVIF to JPG for free?
- Will I lose quality when converting AVIF to JPG?
- Should I keep AVIF or convert to JPG?
- The takeaway
- Frequently asked questions
- Can I convert AVIF to JPG on my phone?
- Does converting AVIF to JPG remove transparency?
- Is it safe to upload my images to an online AVIF converter?
- Can I convert multiple AVIF files to JPG at once?
- Why won’t my AVIF image open on some devices?
- What’s the best JPG quality setting when converting from AVIF?
What’s the difference between AVIF and JPG?
AVIF and JPG are both image formats, but they come from very different eras of compression technology. AVIF, short for AV1 Image File Format, launched in 2019 from the Alliance for Open Media and borrows its compression tools from the AV1 video codec, a project backed by Google, Apple, Microsoft, and Netflix. JPG, formally JPEG, dates back to 1992 and still relies on the discrete cosine transform method that splits every image into small pixel blocks before compressing them. The compression gap between the two is large. AVIF files typically run 30% to 70% smaller than JPG at similar visual quality, a jump that beats anything JPG has managed in decades. AVIF also supports HDR color, 12-bit depth, transparent backgrounds, and animation, and research on a comparative survey of image compression methods across pixel formats and bit depths confirms these deeper bit-depth formats retain more visual information than JPG, which caps out at 24-bit color with no transparency or HDR support at all. Where JPG wins is reach. AVIF browser compatibility data shows every major browser renders AVIF today, yet plenty of older software, email clients, and print systems still can’t open it. That gap is exactly why AVIF to JPG conversion remains a practical need for so many people, even as AVIF keeps gaining ground.
AVIF: the newer, smaller format
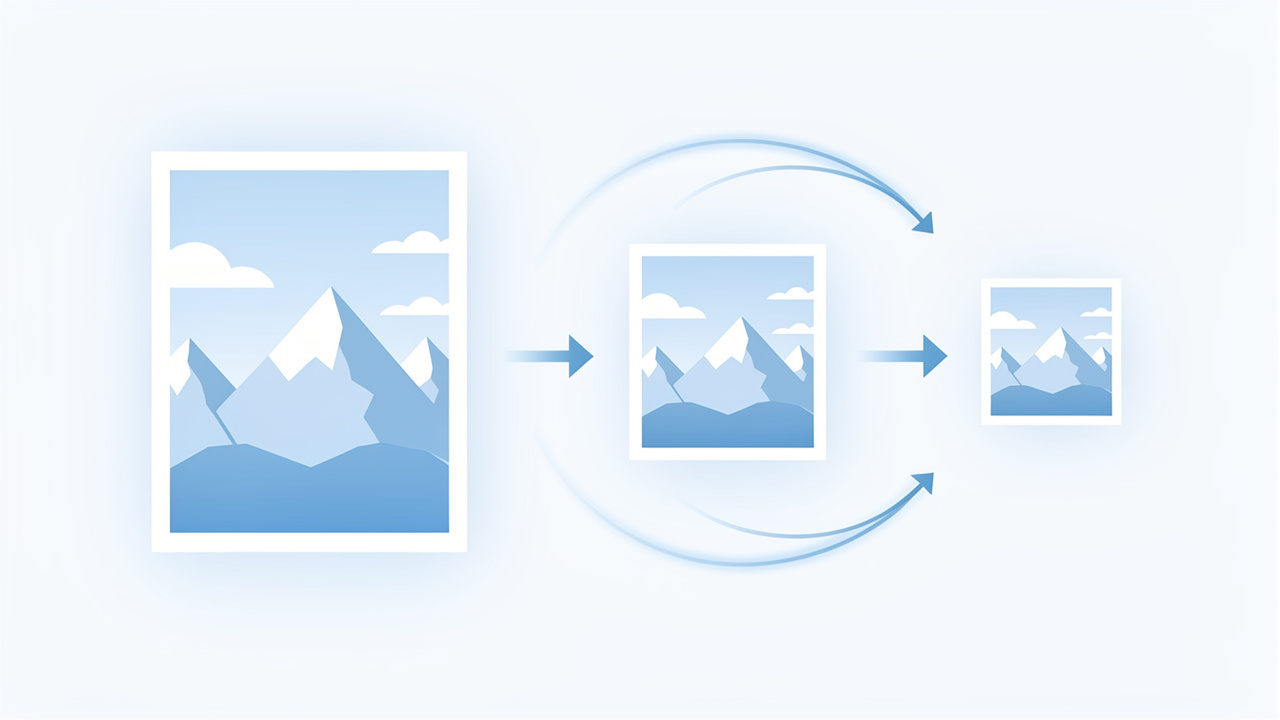
AVIF stands for AV1 Image File Format, a format the Alliance for Open Media released in 2019 with backing from Google, Apple, Microsoft, and Amazon. It borrows compression tools from the AV1 video codec, letting it shrink files by 30% to 70% compared to JPG at similar quality, a gap confirmed by peer-reviewed research on AVIF as an alternative to JPEG for texture and image storage. AVIF also handles HDR color, transparent backgrounds, and animated sequences, features JPG has never supported.
JPG: the universal standard
JPG, short for JPEG, came from the Joint Photographic Experts Group back in 1992 and still uses discrete cosine transform compression to shrink photos, a standard formalized as ISO/IEC 10918-1. It supports 24-bit color and stores useful Exif data like camera settings and location. What keeps JPG relevant is reach. Every camera, phone, browser, and operating system ever made opens a JPG file without any extra plugin or update.
Why would I need to convert AVIF to JPG?
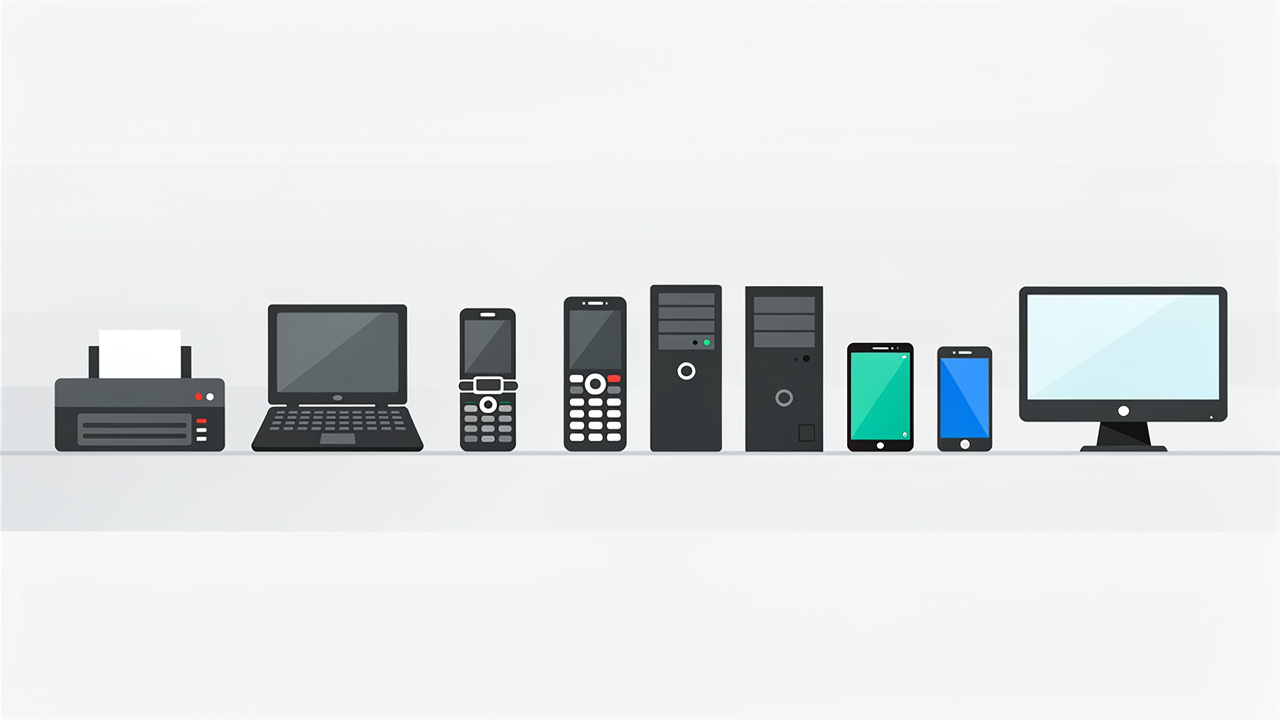
You’d convert AVIF to JPG whenever compatibility matters more than shaving off a few extra kilobytes. A photographer emailing proofs to a client on an older laptop, a small business uploading product photos to a local print shop, or a student submitting a paper to a portal that only accepts JPG all run into the same wall. The software on the other end simply can’t open the AVIF file, so it shows a broken image icon instead of the picture.
Converting trades a bit of AVIF’s compression advantage for guaranteed compatibility everywhere it’s needed. You’ll end up with a slightly larger file, but one that opens on any device, in any inbox, and on any printer without needing a backup plan.
How can I convert AVIF to JPG for free?
Converting AVIF to JPG for free comes down to using a browser-based tool that handles the format swap without asking you to install anything or create an account. The whole process takes seconds: you open a converter site, drop in your AVIF image, and download a JPG version that opens everywhere. Most free converters decode the AV1 image data behind AVIF and re-encode it using JPEG’s compression method before handing you a finished file. Tools Repository’s AVIF to JPG converter follows this same pattern, but it runs the entire job inside your browser tab so your images stay on your device the whole time. You don’t need to sign up, pay, or wait in a queue, and the tool supports dragging in several AVIF files at once if you’re batch-processing a folder of photos. Because everything happens on your own machine, there’s no upload delay and no question about where your images end up afterward. This kind of speed and privacy matters most to freelancers, students, and small business owners who just want a quick fix without extra hassle. Most people finish the whole job in under a minute, even with several files queued at once.
Step-by-step: converting AVIF to JPG online
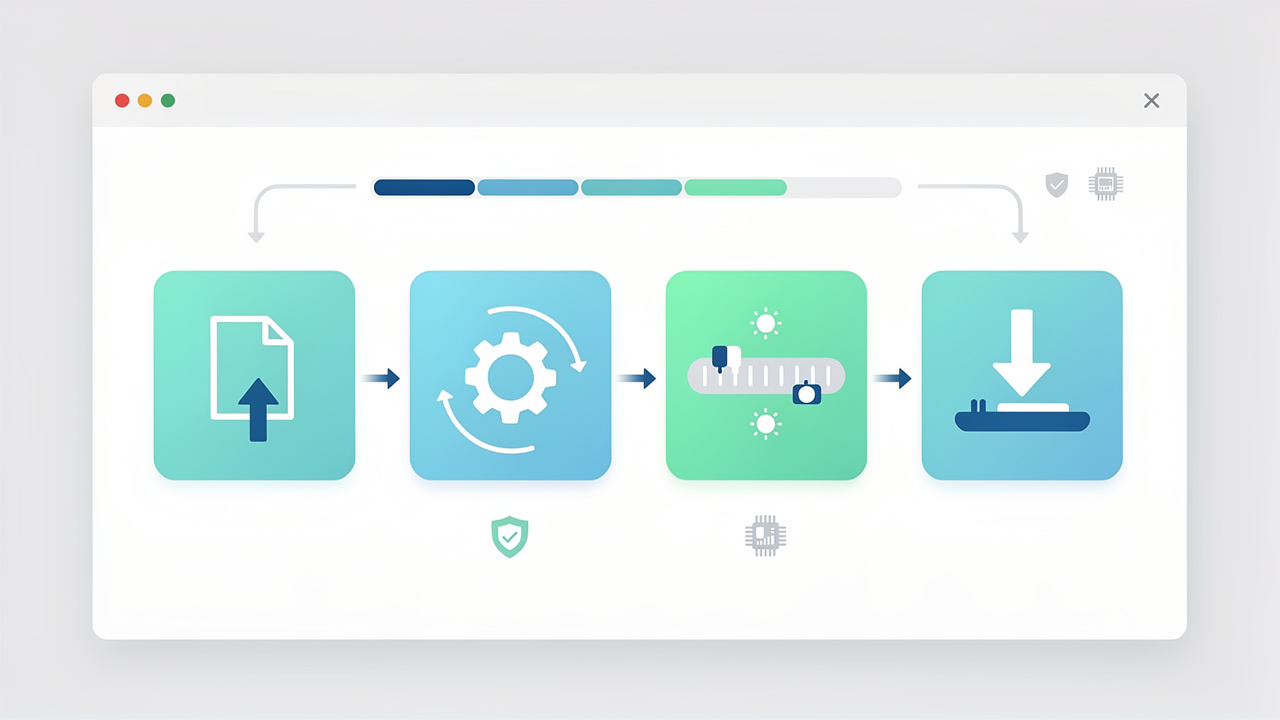
Most converters, including this one, follow the same four-move routine from upload to download.
- Open the AVIF to JPG converter in your browser, no install or account needed to get started.
- Drop in your AVIF file, or select several at once if you’re handling a batch of photos.
- Adjust the JPG quality setting if the tool offers one, then click convert to run the job.
- Download your finished JPG file right away, ready to use in email, print, or anywhere else.
The whole routine typically finishes in under 10 seconds, even when you’re converting several photos at once, and the download usually arrives as a single JPG or a ZIP folder for batches.
Why I recommend a browser-based converter like Tools Repository
I recommend a browser-based converter because your images never leave your device during AVIF to JPG conversion, unlike cloud tools that upload files to a remote server first. Tools Repository runs the whole process locally in your browser tab, cutting out upload waits and any question about where your photos end up. That matters if you’re converting client work or personal photos you’d rather keep private.
The tool is also completely free, with no account, no locked premium tier, and nothing to install on your computer. It sits inside a wider hub of over 100 browser-based tools, so if you need a JSON formatter or a color contrast checker next, the same site already covers you.
Will I lose quality when converting AVIF to JPG?
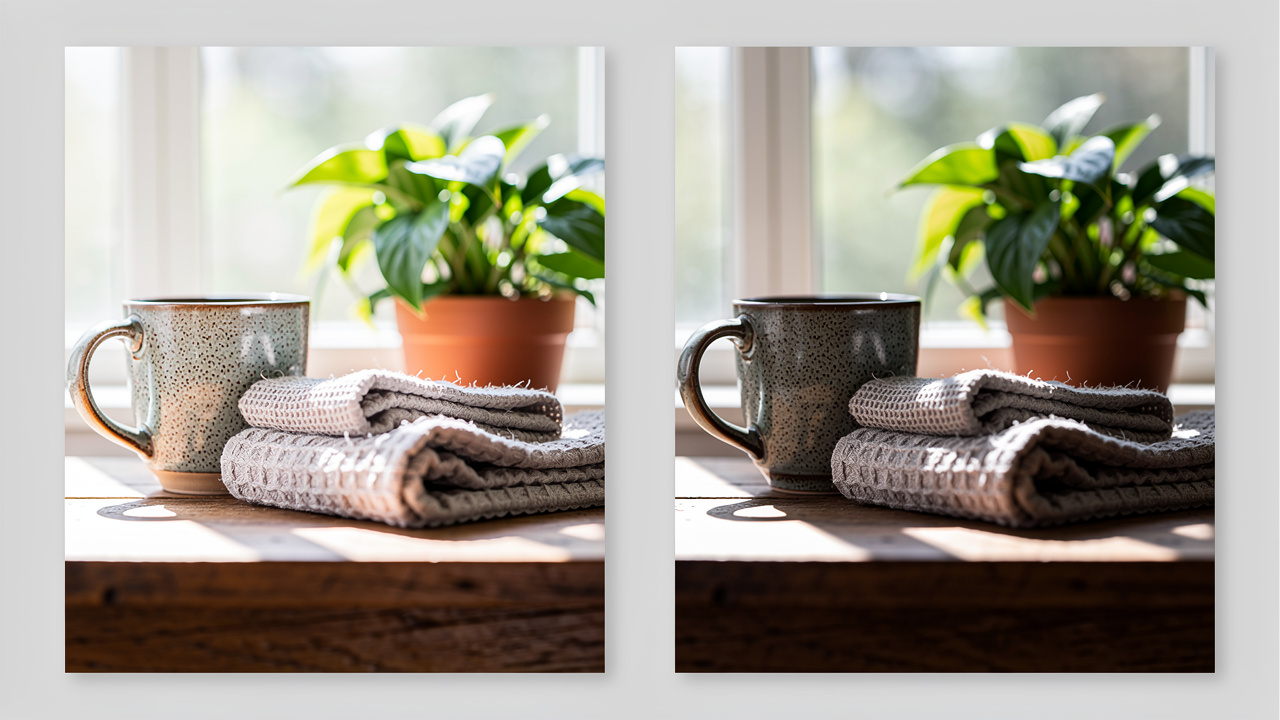
Converting AVIF to JPG does involve some quality trade-off, since JPG only supports lossy compression while AVIF can go lossless, and independent benchmark testing of image compressors shows visible differences tend to concentrate around edges and fine detail rather than flat color areas. In practice, this loss is small and often impossible to spot with the naked eye, especially on regular photos with normal detail levels. The bigger loss shows up with transparency and HDR color, since JPG can’t hold either, so those areas get flattened or filled with a background color during conversion.
For most photos, a JPG quality setting between 80% and 90% keeps detail sharp while still trimming file size compared to the AVIF original. Simple images with flat colors compress cleanly at almost any setting, while busy, detailed photos benefit from staying closer to 90% to avoid visible blockiness around edges and text.
Should I keep AVIF or convert to JPG?

Keep AVIF if you’re building a modern website for current browsers, since it cuts bandwidth use and speeds up page loads without much visible quality cost for most visitors. Photography portfolios, product galleries, and any image-heavy page benefit from AVIF’s smaller files, especially for visitors on mobile data.
Convert to JPG whenever you’re sending images somewhere you don’t control, like email, a print shop, an older content system, or a portal with unknown format rules, since a dedicated file-size benchmark found converting HEIC to a quality-matched JPG roughly doubles the file size but guarantees the recipient can open it. JPG’s three-decade track record means you never have to wonder whether the person on the other end can open your file. A lot of teams keep AVIF for their own site while converting to JPG anywhere compatibility isn’t guaranteed.
The takeaway
AVIF and JPG both do their job well, just for different reasons. AVIF wins on file size and image quality, making it the smarter pick for modern websites and apps. JPG wins on reach, opening correctly on every camera, browser, and device made in the last three decades, which is why so many people still need a fast way to switch formats.
Converting between them doesn’t have to involve software installs, accounts, or a slow upload. Tools Repository’s AVIF to JPG converter runs right in your browser, keeps your files private, and hands you a finished JPG in seconds, whether you’re a developer prepping assets, a student submitting a file, or a small business owner sending photos to a printer. Give it a try the next time an AVIF file won’t open where you need it to.
Frequently asked questions
Here are quick answers to common questions people ask about switching between AVIF and JPG, covering mobile conversion, privacy, and batch processing details that come up most often once you’ve decided to convert.
Can I convert AVIF to JPG on my phone?
Yes, browser-based converters work fine on mobile browsers like Safari or Chrome. Open the tool, upload your AVIF photo from your phone’s gallery, and download the JPG version, no app needed at all.
Does converting AVIF to JPG remove transparency?
Yes, JPG doesn’t support transparency, so any transparent areas in your AVIF file get filled with a solid background color, usually white, during conversion, a compatibility gap that also shows up when comparing HEIC vs JPG quality and file size across Apple’s own formats. This change is permanent once you save the JPG.
Is it safe to upload my images to an online AVIF converter?
It depends on the tool. Server-based converters upload your file to their servers, which carries some privacy risk. Browser-based tools like Tools Repository client-side processing, so your images never leave your device.
Can I convert multiple AVIF files to JPG at once?
Yes, most converters support batch uploads, letting you drag in several AVIF files at the same time. You’ll typically get your converted JPGs back in a single ZIP folder for easy downloading.
Why won’t my AVIF image open on some devices?
Older browsers, some email clients, and legacy software often lack native AVIF support since the format only launched in 2019. Converting to JPG fixes this instantly since JPG works everywhere without exception.
What’s the best JPG quality setting when converting from AVIF?
A quality setting between 80% and 90% usually gives the best balance, keeping images sharp while trimming file size, a range that lines up with broader guidance on how to compress video without losing quality, where similar mid-to-high quality settings preserve detail while cutting size. Go higher for detailed photos and lower for simple graphics or flat-color images.